Chapter 1 of 11 · 5 min
Start here
What this tutorial builds, the order it builds it in, and what to have on the desk before you begin.
You know what the eleven chapters cover and why they run in this order, and you are signed in to a store you can practise on without breaking anything.
This tutorial takes a brand-new store from an empty account to a shop you can actually trade in. Every chapter is a screen you will really open, in the order you will really open it.
What you end up with
By the end of chapter 11 the store is named and taxed correctly, has its branches and registers, its staff and their PINs, a catalogue of products in every size and colour, stock on the shelves, suppliers, offers, a till that rings a sale, and reports that agree with the drawer.
Allow two to three hours for the whole thing. You do not have to do it in one sitting — each chapter says how long it takes and everything is saved as you go.
Have these ready before you start
None of this is hard to find, but hunting for it mid-form is how a half-finished store gets left half-finished.
Do this
- Your tax registration number. It is a required field on a tax invoice, and the store profile screen warns you while it is empty.
- The currency you keep your books in. Decide it now.
- Your branch names, written out in Arabic and in English. Both are required, not one plus a promise.
- A short code for each branch, like
BR1. It goes into every document number that branch ever issues. - A list of who stands at a till and who needs the back office. They sign in in completely different ways.
- If you already keep a catalogue in a spreadsheet, save it as CSV. Chapter 5 imports it.
Why the order matters
Each chapter needs the one before it. You cannot put stock on a shelf before the branch exists, and you cannot ring a sale before a register has been paired to a device.
Two chapters repay slow reading. Chapter 2, because the base currency locks at the first sale and the tax class code can never be changed once it exists. Chapter 6, because the size-and-colour grid is generated once, when you create the product, and there is no screen yet for adding a size to it afterwards.
The eleven chapters
Work through them from the top.
Do this
- 1 Start here — what you are about to build and what you need in front of you.
- 2 Your store's identity — name, tax, the cash the drawer takes, and the receipt.
- 3 Branches and registers — open a branch, then pair a till to a device.
- 4 Staff, roles and PINs — who works here, what each of them may do, and how they sign in.
- 5 Categories, brands and your first product — the shelves, and the first thing on them.
- 6 Sizes, colours and barcodes — the size-by-colour grid, SKUs and labels. The chapter to read twice.
- 7 Opening stock, and keeping it right — the first numbers on the shelves, and why every change needs a reason.
- 8 Suppliers, orders and what you owe — a supplier, a purchase order, the delivery that creates the debt.
- 9 Customers, offers, gift cards and loyalty — who buys from you and what you offer them.
- 10 A day at the till — open a shift, ring a sale, take a return, close the drawer.
- 11 Reports, and what to check before you go live — which report answers which question.
The test store
There is a ready-made demo store called Sami Fashion so you can follow along without touching anything real. Its short address is sami-fashion. It has two branches — BR1 in Ramallah and BR2 in Nablus — three registers, and two hundred products spread over roughly three thousand size-and-colour variants.
Sign in to the back office with an email and a password. The login screen has no store field; it works out the store from the address you opened it at, and shows the store's short name under the title.
Do this
- Open the back office and press Sign in.
- Email:
owner@sami-fashion.test - Password:
Retails!demo1 - The till PINs are
1111for the owner,2222for the branch manager and3333for the cashier.
Two programs, two ways of signing in
The back office is this website. You sign in with an email and a password, and it is where every screen in this tutorial lives except the till ones.
The register is a separate program installed on the till itself. Staff sign in to it with a four-to-six digit PIN typed on the keypad. An email and password will not open a till, and a PIN will not open the back office. This is the first thing people get wrong, and it looks like a broken login rather than a misunderstanding.
Before you move on
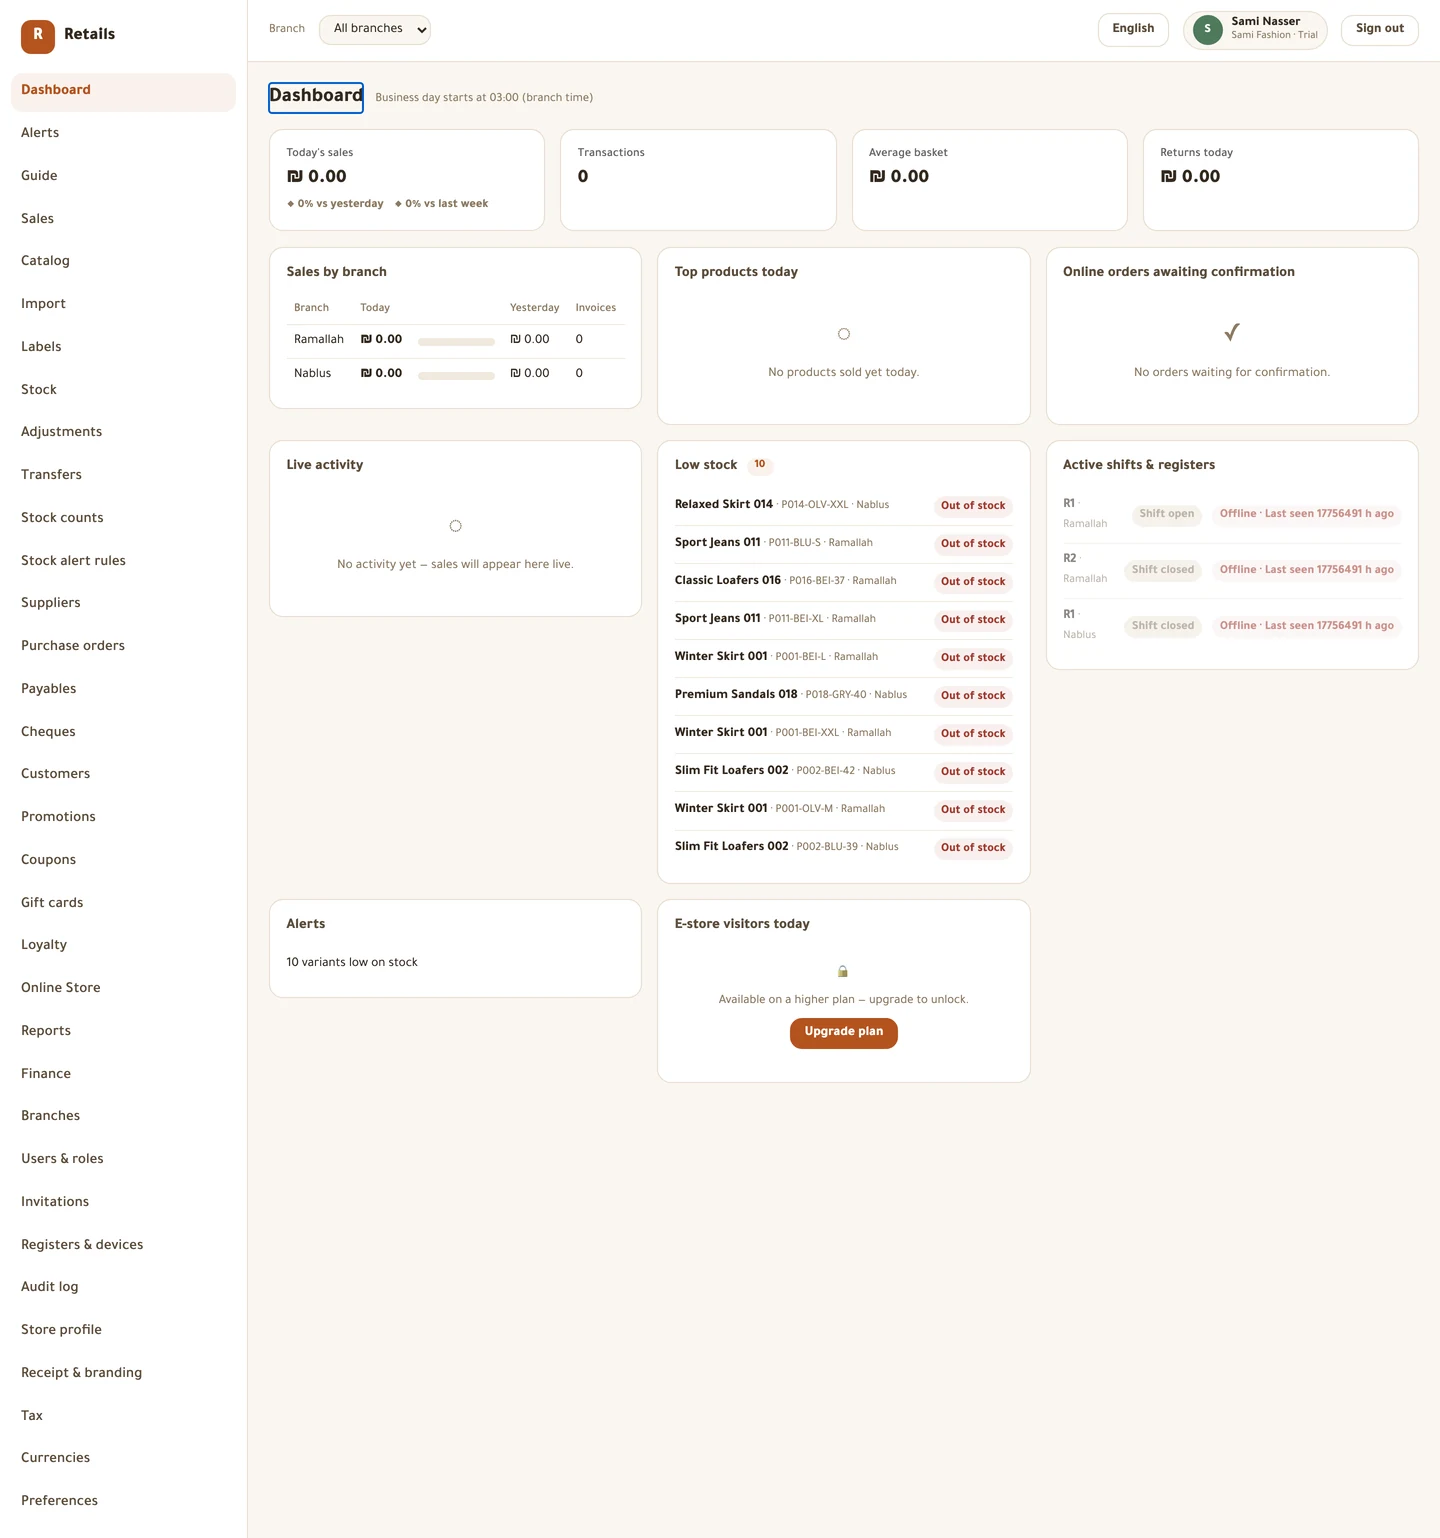
- You can sign in to the back office and see the dashboard
- You know your tax registration number and your base currency
- You have branch names in Arabic and English, and a short code for each
- You know which staff need a PIN and which need a back-office password
- You have understood that the base currency locks at the first sale
Every picture on this page is a photograph of the real screen, taken from a running store.